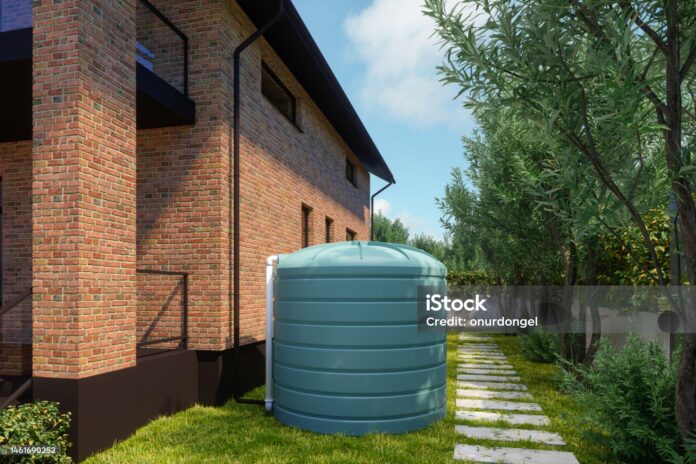
Why Proper Water Tank Installation Matters
How to properly install a water tank is a critical question many homeowners overlook—until it’s too late. Poor installation leads to structural issues, leaks, contamination, or worse—total tank failure. Whether you’re harvesting rainwater or using a tank for emergency storage, correct setup is the foundation of long-term water efficiency and safety.
Tools and Materials You’ll Need
Before diving into how to properly install a water tank, gather these basics:
-
Gravel or concrete mix (for the base)
-
Spirit level
-
Inlet strainer and overflow pipe
-
First flush diverter (optional)
-
Outlet valve and piping
-
Silicone sealant or thread tape
-
Hose connections
-
Wrenches and PVC glue

Step 1: Choose the Right Location
When learning how to properly install a water tank, location is everything.
✅ Pro Tip: Choose an area that’s:
-
Flat and slightly elevated
-
Near a gutter system for rainwater harvesting
-
Away from trees (roots and falling debris are enemies)
-
Accessible for maintenance and water access
Step 2: Prepare a Solid Foundation
This step is non-negotiable. Your tank needs a solid, level base to prevent leaning, cracking, or collapsing.
Options:
-
Concrete slab: Best for large or heavy tanks
-
Compacted gravel or sand base: Ideal for small plastic tanks
-
Prefabricated tank stands: For elevated needs
Step 3: Position the Tank Safely
Now place the tank in its final resting place.
Use a spirit level to check alignment. It must be perfectly flat—no wobble, no tilt.
✅ Pro tip: Leave at least 300mm of clearance around it for maintenance access.
Step 4: Connect the Inlet and Overflow System
Install a leaf strainer or inlet filter to catch debris before it enters your tank.
Attach the overflow pipe at the top. Direct it to a safe runoff area or a stormwater drain.
Step 5: Install a First Flush Diverter (Optional, but Smart)
Want cleaner water? This device diverts the first dirty flush of rainwater away from your tank.
💡 Highly recommended for households using harvested rainwater for drinking or bathing.
Step 6: Set Up the Outlet Plumbing
Attach a tap or outlet valve to the bottom outlet.
Seal all threaded joints with Teflon tape or silicone.
Connect this to your irrigation, household plumbing, or garden hose system.
Step 7: Test, Seal, and Secure
Before calling it a day:
-
Fill halfway and check for leaks
-
Seal any drips immediately
-
Secure connections with brackets or straps if needed
Maintenance Tips After Installation
Once you’ve learned how to properly install a water tank, upkeep is easy:
-
Clean the tank interior every 6–12 months
-
Flush the first flush system quarterly
-
Inspect for cracks, algae, and blockages
Conclusion: DIY or Call a Pro?
Knowing how to properly install a water tank empowers you to take control of your water use and savings. If you’re handy, a basic setup is completely doable. But for larger systems, underground tanks, or connecting to mains—a licensed plumber is your best friend.
-
